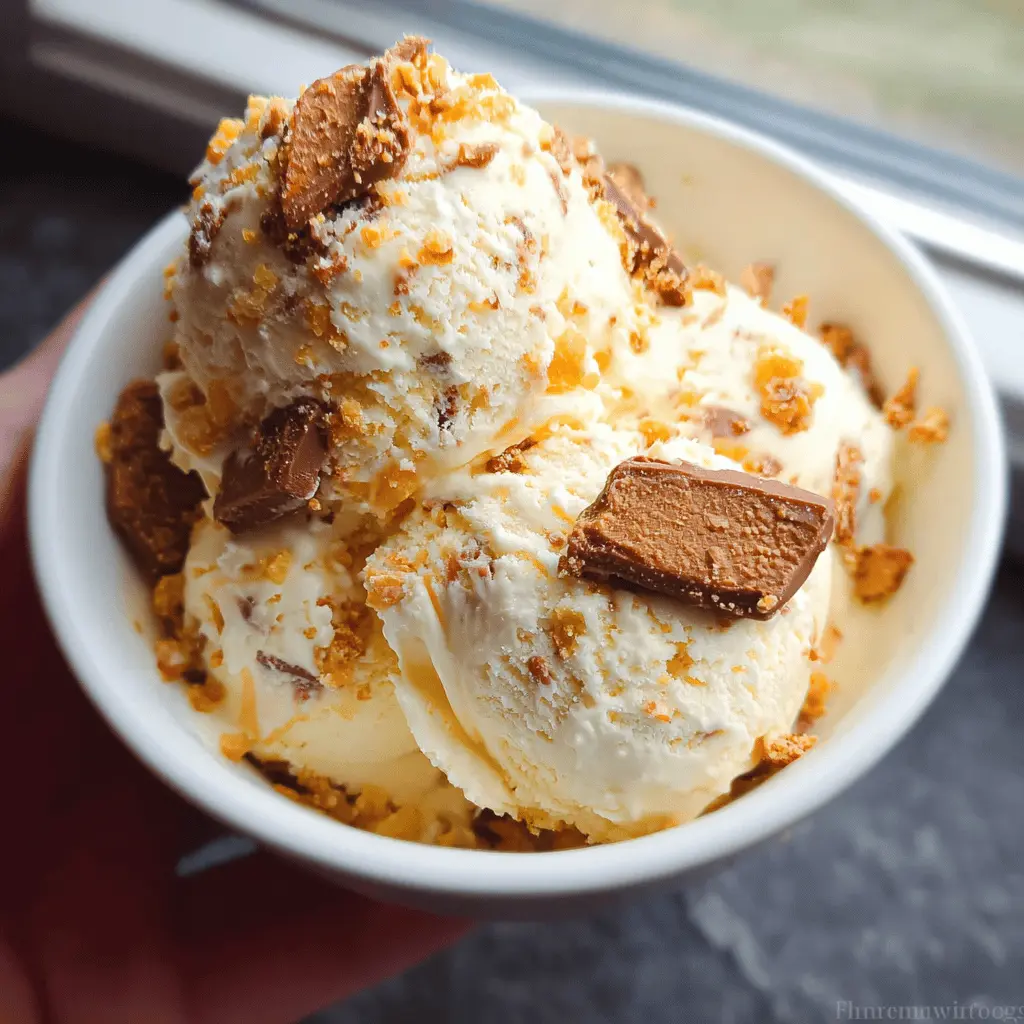
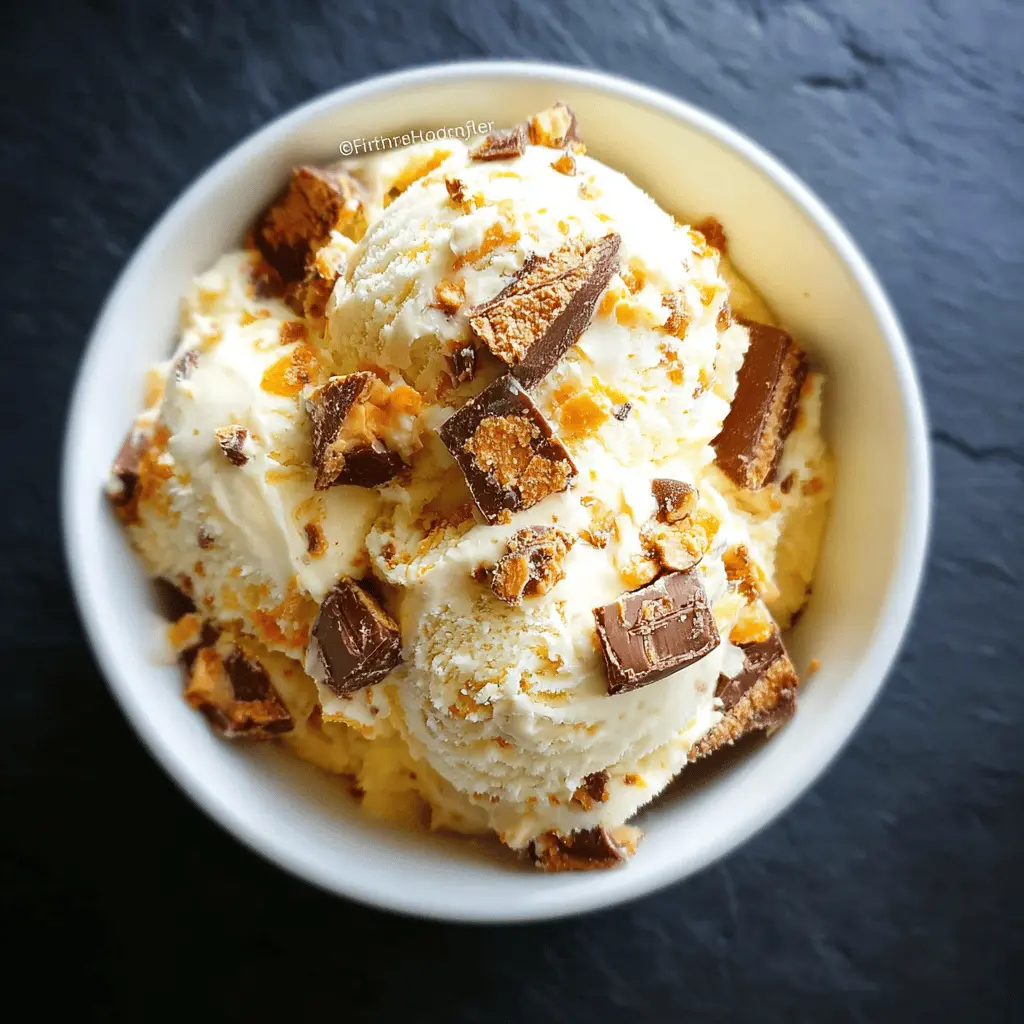
This creamy butterfinger ice cream is a sweet treat that combines rich vanilla ice cream with crunchy Butterfinger pieces. It’s super easy to whip up and perfect for warm days!
I love how you can enjoy this ice cream without the need for an ice cream maker. Just mix, freeze, and scoop—simple as that! Who can say no to that? 🍦
Key Ingredients & Substitutions
Heavy Whipping Cream: This is key for a rich and creamy texture. If you’re looking for a lighter option, you can substitute half and half, but it may affect the creaminess.
Sweetened Condensed Milk: This adds sweetness and creaminess. If you’re vegan, you can try using coconut cream or a non-dairy sweetened condensed milk alternative, keeping in mind the flavor profile may slightly change.
Vanilla Extract: Pure vanilla extract enhances the flavor balance. Use imitation vanilla in a pinch, but pure gives the best taste. You could also try a bit of almond extract for a different twist.
Butterfinger Candy Bars: For the best flavor and crunch, I highly recommend using the classic Butterfinger, but you can switch it up with Reese’s or any other crunchy chocolate bar if needed.
How Do I Achieve the Perfect Whipped Cream?
The whipped cream is crucial in this ice cream for its lightness. To make sure it turns out perfectly, follow these tips:
- Start with cold equipment; chill your mixing bowl and beaters in the fridge for 10-15 minutes.
- Don’t overbeat! Whip until just stiff peaks form; if you go too far, it can curdle into butter.
- Be gentle when folding in other ingredients to maintain that airy texture. Use a spatula and a gentle folding motion.
With these steps, you’ll have a fabulous homemade Butterfinger ice cream that’s creamy, crunchy, and utterly delicious!
Easy Homemade Butterfinger Ice Cream
Ingredients You’ll Need:
- 2 cups heavy whipping cream
- 1 (14 oz) can sweetened condensed milk
- 1 ½ teaspoons pure vanilla extract
- 4-5 Butterfinger candy bars (regular size), chopped into small pieces
Time Needed:
This delightful ice cream recipe takes about 10 minutes to prepare, plus a freezing time of at least 6 hours or overnight to fully firm up. You’ll be savoring this sweet treat in no time!
Step-by-Step Instructions:
1. Whip the Cream:
Start by pouring the heavy whipping cream into a large mixing bowl. Using an electric mixer, beat the cream on high speed for about 3 to 5 minutes until you see stiff peaks forming. This means the cream is airy and fluffy, which is what we want for a creamy texture in our ice cream!
2. Mix the Sweetened Condensed Milk:
In another bowl, gently stir together the sweetened condensed milk and pure vanilla extract. This sweet mixture adds creaminess and flavor to your ice cream.
3. Combine Cream and Milk Mixtures:
Now, carefully fold the sweetened condensed milk mixture into the whipped cream. Use a spatula and be gentle so that you don’t lose the fluffiness of the whipped cream. You want to keep that light, airy texture!
4. Add Butterfinger Pieces:
Next, gently fold in the chopped Butterfinger pieces. Make sure they are evenly distributed throughout the ice cream base. Every scoop should be packed with that delicious Butterfinger crunch!
5. Freeze the Mixture:
Transfer the entire mixture into a freezer-safe container. Use a spatula to smooth the top if you’d like. Make sure it’s well-covered to prevent ice crystals from forming.
6. Chill Until Firm:
Pop the container in the freezer and let it chill for at least 6 hours, or overnight, until it is firm and ready to serve.
7. Serve and Enjoy:
Once your ice cream is fully set, it’s time to scoop! Serve it in bowls or cones and get ready to enjoy your homemade Butterfinger ice cream! It’s the perfect treat for any hot day or just a satisfying dessert!
This no-churn Butterfinger ice cream is creamy, indulgent, and features delightful crunchy bits throughout. Enjoy your sweet homemade creation! 🍦
Frequently Asked Questions
Can I Use Light Whipping Cream Instead of Heavy Whipping Cream?
Yes, you can use light whipping cream, but be aware that the texture may be less rich and creamy than if you use heavy whipping cream. For the best results, stick with heavy whipping cream for optimal fluffiness.
How Can I Store Leftover Ice Cream?
Store any leftovers in an airtight container in the freezer. To prevent ice crystals from forming, cover the top with plastic wrap before sealing the container. It will stay fresh for about 1-2 weeks, but it’s best enjoyed within a few days!
Can I Add Other Mix-Ins Besides Butterfinger?
Absolutely! You can mix in other candies, nuts, or chocolate chips. M&Ms, crushed Oreos, or caramel swirls would all be delicious options. Just be careful not to overload the base with too many additions to maintain a good texture!
How Do I Make This Dairy-Free?
For a dairy-free version, substitute the heavy whipping cream with coconut cream or a dairy-free heavy cream alternative. Use a vegan sweetened condensed milk or homemade version to replace the traditional one. The flavor will be different, but still yummy!