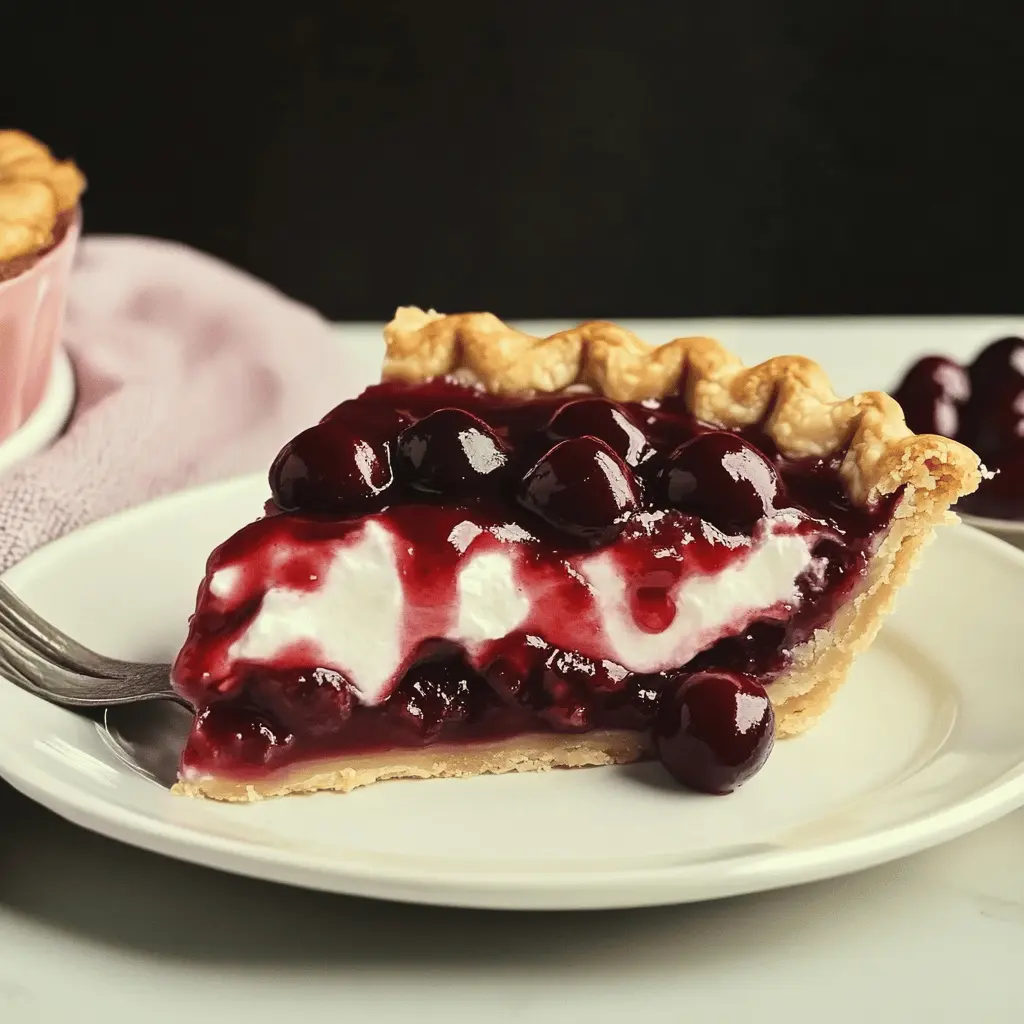
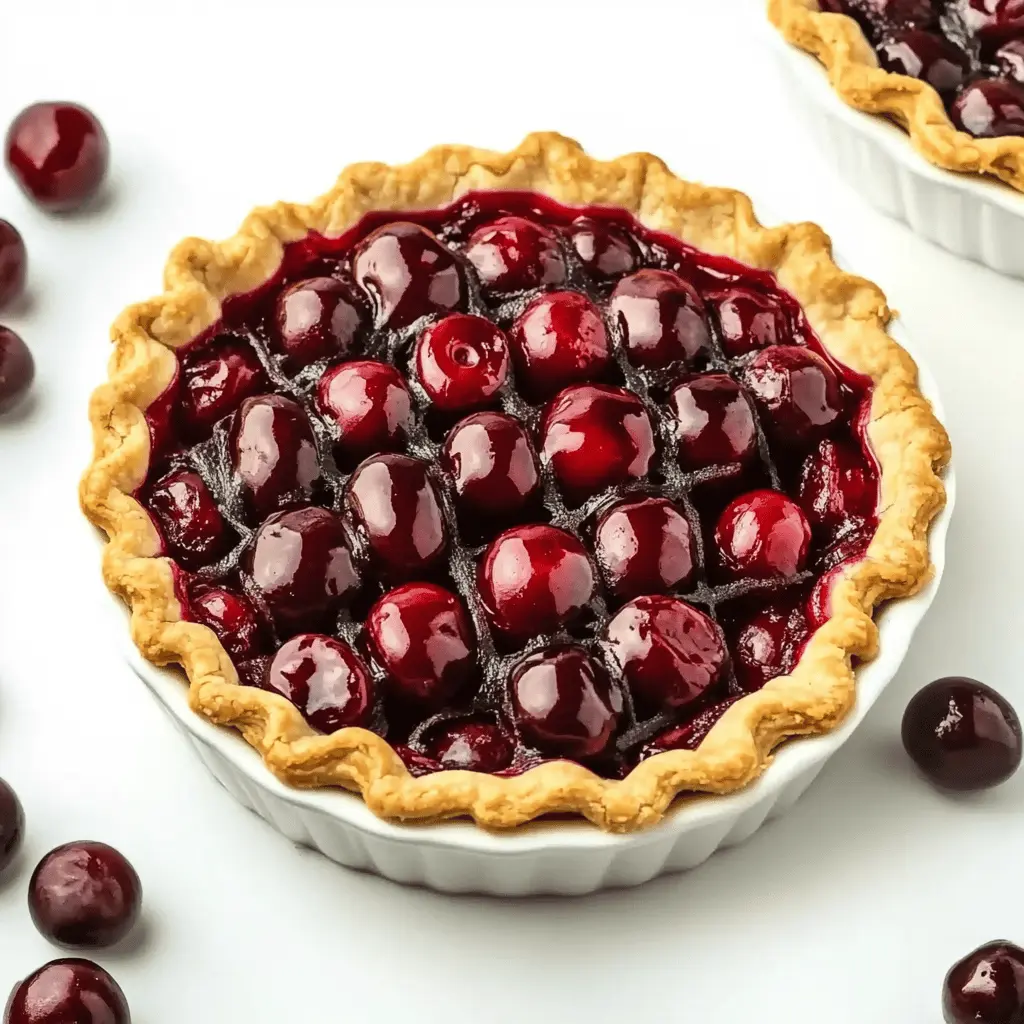
This Easy Grandma’s Sweet Cherry Pie is like a warm hug in dessert form! With juicy cherries wrapped in a flaky crust, it’s sure to bring back sweet memories.
If you want to make your kitchen smell amazing, this pie is the way to go! I love serving it with a scoop of ice cream, turning it into a perfect treat for any day! 🍒
Key Ingredients & Substitutions
Pie Crusts: You can use store-bought crusts for convenience. If you’re feeling adventurous, making homemade crusts can add a personal touch! For a healthier option, consider a whole wheat crust.
Cherries: Fresh sweet cherries are best, but frozen ones work well too. Just ensure you thaw and drain excess liquid first. If cherries aren’t in season, you can also use canned cherries—just rinse and drain them thoroughly.
Sugar: Adjust sugar based on the sweetness of your cherries. For a healthier twist, try using honey or maple syrup, but adjust the quantity as they can be sweeter than sugar.
Almond Extract: This optional ingredient adds a lovely flavor. If you don’t have it, vanilla extract is a good substitute, giving a different but still delicious twist.
How Do You Get the Perfect Cherry Filling Consistency?
The key to a great cherry filling is balancing the juice and the thickening agent. Cornstarch is essential for this! Make sure to mix it well with the sugar and lemon juice before adding the cherries. This helps prevent clumping and ensures an even consistency.
- Mix cherries with sugar, cornstarch, almond extract, lemon juice, and salt gently.
- Let the mixture sit for a few minutes so the juices have time to meld.
- Always taste the filling before placing it in the crust—adjust sugar or lemon as needed!
Happy baking, and enjoy the comforts of homemade cherry pie! 🍒
Easy Grandma’s Sweet Cherry Pie
Ingredients:
Pie Crusts:
- 2 (9-inch) pie crusts (store-bought or homemade)
Cherry Filling:
- 4 cups fresh or frozen sweet cherries, pitted
- 1 to 1 1/4 cup granulated sugar (adjust based on sweetness of cherries)
- 1/4 cup cornstarch
- 1/2 teaspoon almond extract (optional for extra flavor)
- 1 tablespoon lemon juice
- 1/4 teaspoon salt
- 2 tablespoons unsalted butter, cut into small pieces
Egg Wash:
- 1 egg, beaten (for egg wash)
- Sugar for sprinkling on the crust (optional)
Time Estimate:
This delightful cherry pie takes about 20 minutes to prepare, plus an additional 50 minutes to bake. Allow at least 2 hours to cool after baking for the best results before slicing. So, set aside about 3 hours total for this beautiful dessert!
Instructions:
1. Preheat the Oven:
Start by preheating your oven to 425°F (220°C). This high temperature is perfect for getting a nice, golden crust!
2. Prepare the Cherry Filling:
In a large bowl, gently combine your pitted cherries, sugar, cornstarch, almond extract (if you’re using it), lemon juice, and salt. Stir carefully until the cherries are thoroughly coated and the mixture thickens slightly. This is where all the flavors come together!
3. Prepare the Pie Crust:
Roll out one of your pie crusts and place it in a 9-inch pie dish. Trim the edges, leaving about a 1/2 inch overhang, which will help seal the pie later.
4. Fill the Pie Crust:
Pour the cherry filling into the pie crust, making sure to spread it evenly. Dot the filling with the small pieces of butter for a little extra richness.
5. Add the Top Crust:
Roll out the second pie crust to cover the filling. You can either place it as a whole top (make sure to cut a few slits for steam) or create a fancy lattice top with strips of dough woven over the filling.
6. Seal the Pie:
Trim any excess crust and press the edges to seal. Use your fingers or a fork to crimp the edges for a decorative finish.
7. Brush with Egg Wash:
Brush the top crust with the beaten egg; this will give it a lovely, shiny finish. If you’d like, sprinkle a little sugar on top for sweetness!
8. Bake the Pie:
Bake the pie in your preheated oven at 425°F for 15 minutes. Then, lower the temperature to 350°F (175°C) and continue baking for an additional 35 to 40 minutes, or until the crust is beautifully golden and the filling is bubbly. Your kitchen will smell amazing!
9. Cool Down:
Once baked, remove the pie from the oven and let it cool for at least 2 hours. This cooling time helps the filling set properly, making it easier to slice.
10. Serve and Enjoy:
Slice up your cherry pie and serve it with a scoop of vanilla ice cream or a dollop of whipped cream for an extra treat. Enjoy your sweet, juicy, and comforting homemade cherry pie just like Grandma used to make!
Frequently Asked Questions
Can I Use Frozen Cherries for This Pie?
Absolutely! Frozen cherries work just as well. Just be sure to thaw them completely and drain any excess liquid before mixing them into the filling to avoid a soggy pie!
How Should I Store Leftover Cherry Pie?
Store any leftovers in an airtight container in the refrigerator for up to 3 days. Make sure to let it cool completely before covering it to avoid condensation on the pie.
Can I Make This Cherry Pie Ahead of Time?
Yes! You can prepare the pie up to the baking stage and freeze it. Just wrap it well in plastic wrap and aluminum foil. When you’re ready to bake, you can bake it directly from the freezer, just add an extra 10-15 minutes to the baking time.
Is There a Gluten-Free Option for The Pie Crust?
Yes! Many stores offer gluten-free pie crust options, or you can make a homemade gluten-free crust using a blend of gluten-free flours. Simply follow the gluten-free pie crust recipe of your choice, and fill it as you would with the regular crust.